Datamap-System Details
Overview
The System Details tab in the Datamap module provides a comprehensive view of a selected data source---whether it's a system, subsystem, project, or entity.
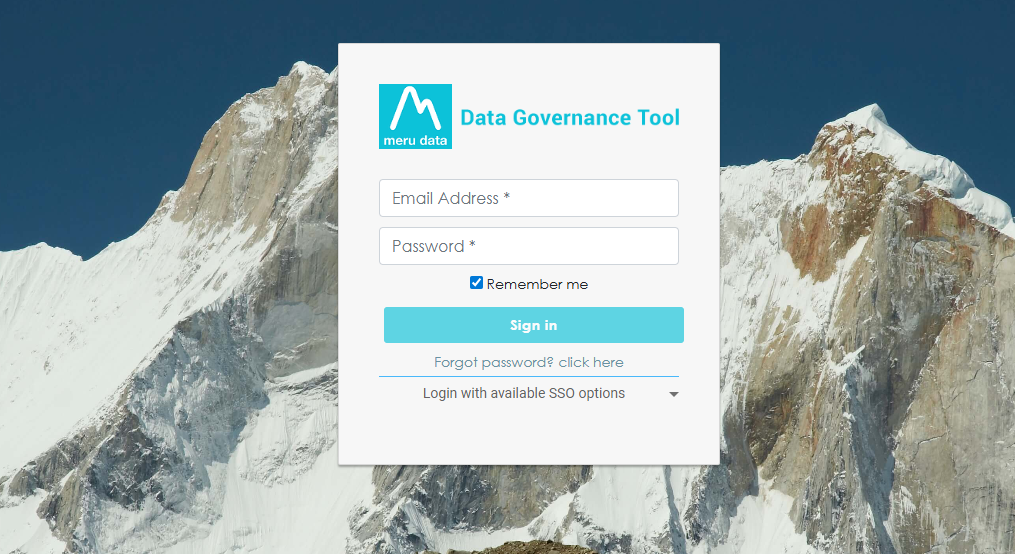
1. Logging In
Login to the Data Governance Tool by entering your credentials.
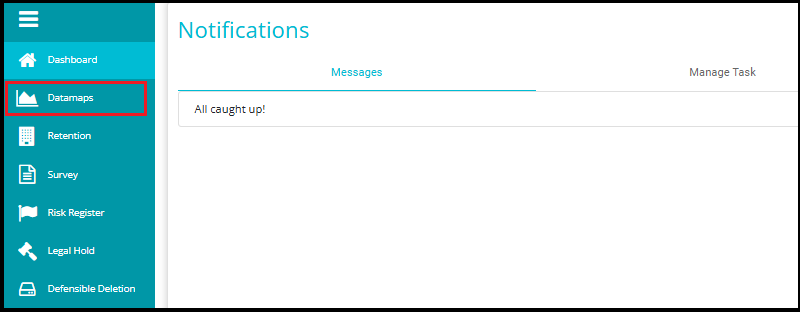
2. Navigating to Datamap Module
Click on the hamburger icon
 on the top left corner.
 Click on 'Datamap module' from the menu.
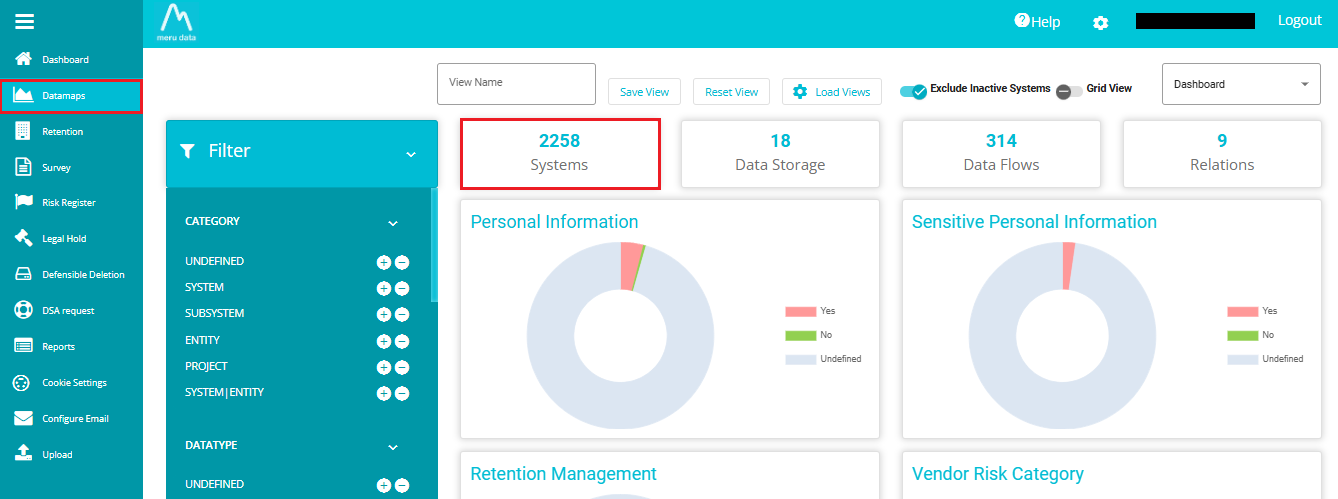
3. Click on the Systems Tab
Inside the DataMap module, go to the Systems tab.
This tab displays all the systems available in your environment.
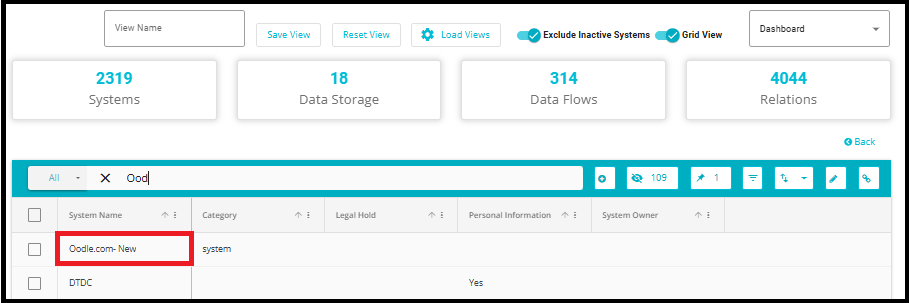
- From the Datamap page, click on the Datamap system name for which you want to view System Details.
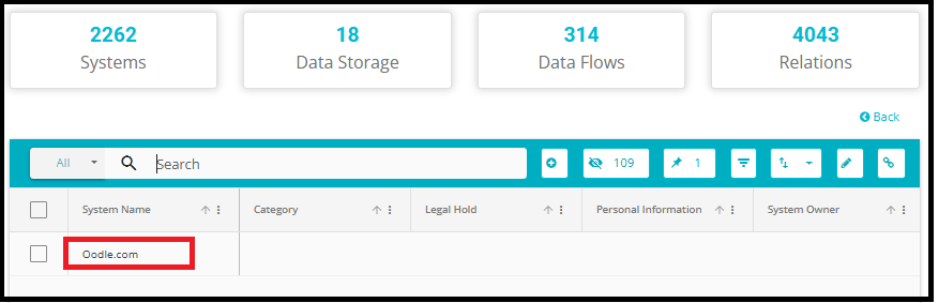
- Clicking on the Datamap system name from the Datamap page, you are taken to the System Details tab.
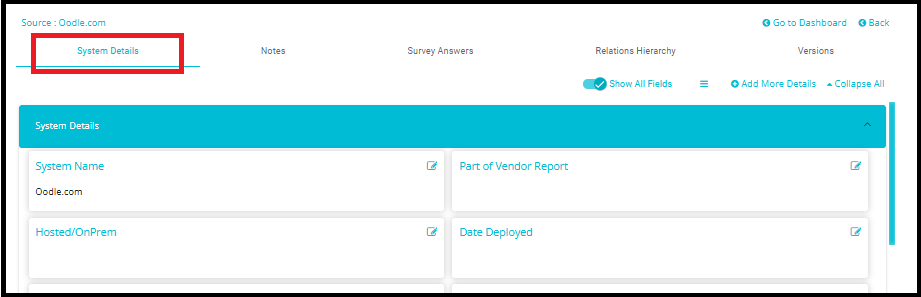
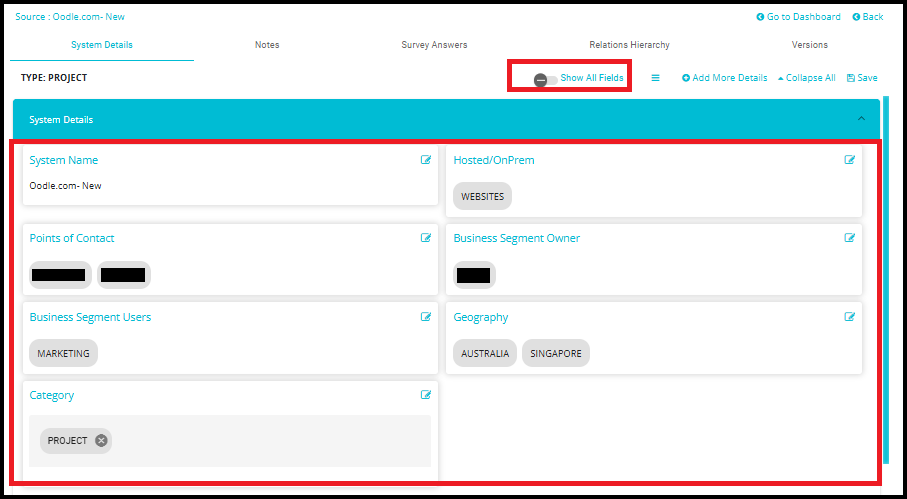
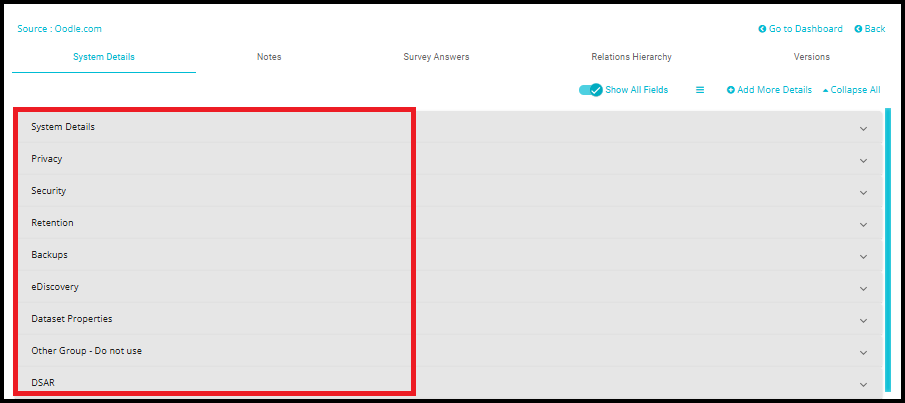
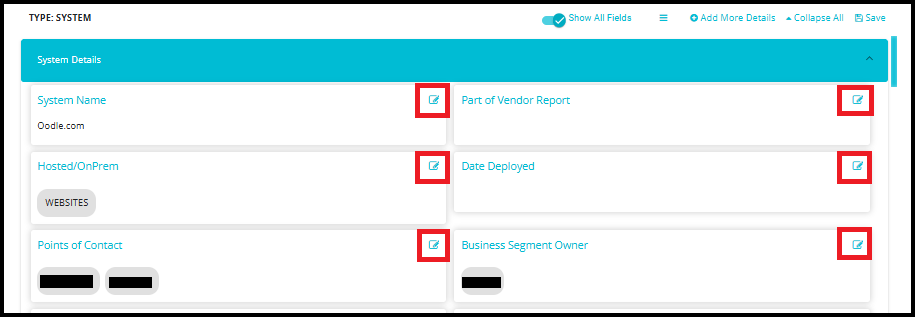
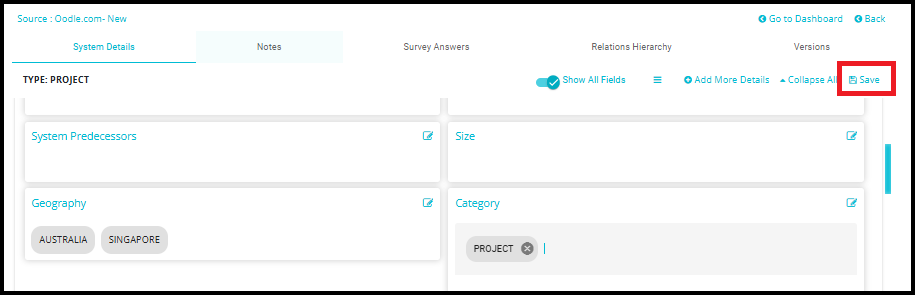
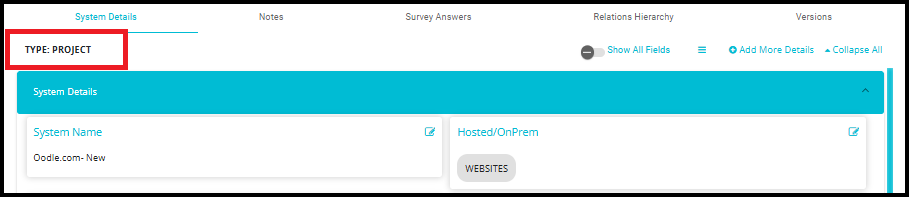
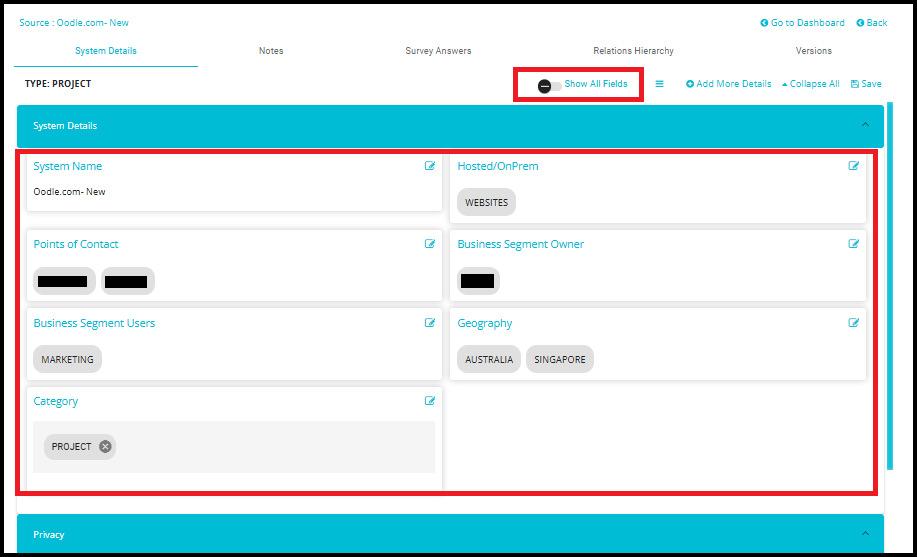
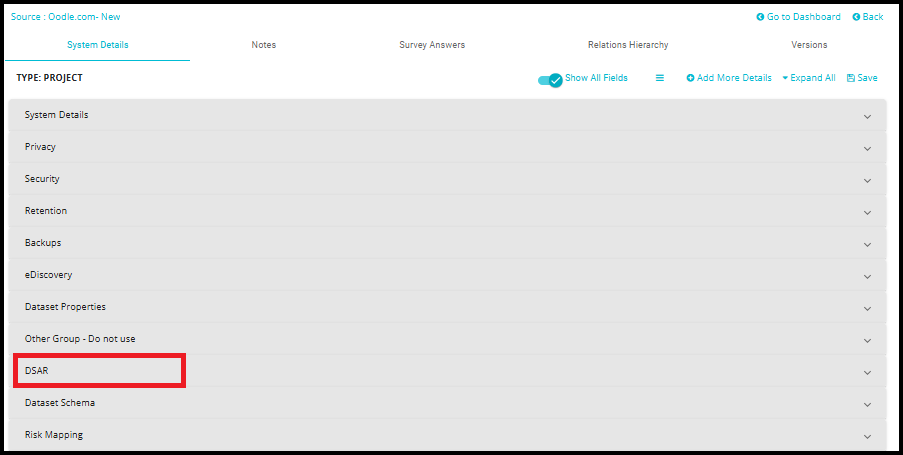
The System Details Section displays extensive information about the system/subsystem/project/entity, categorized into different categories such as System Details, Privacy, Security, Retention and Back Up, Risk Mapping, Vendor Statements, Contract, System Fields, DSARs etc. depending on your requirements.
As we know, a Datamap comprises of different data sources (or data stores). These data sources can be categorized as systems, subsystems, projects, or entities. The category of the selected data source can be seen on top of the page.
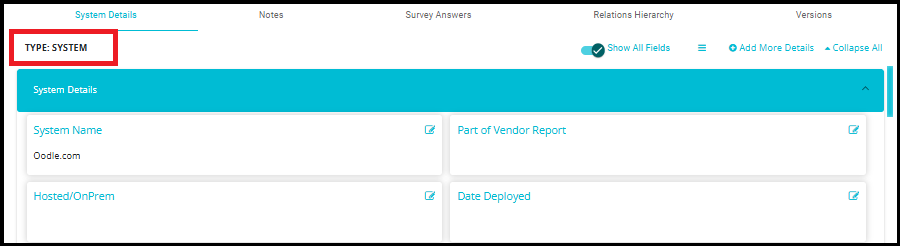
This data source category can be selected and changed depending on your requirements. Details of doing so can be found below.
The Datamap System/Subsystem/Project/Entity can be configured as per your requirements; the kind of categories in your System, their layout, the text type entered in the System fields and so forth.
The details can be edited in two ways:
Value edits can be made to individual fields on the System Details page.
Configuration changes can be made to the Groups (System Details, Privacy, Security, Retention and Backup etc.) and their fields on the Edit page.
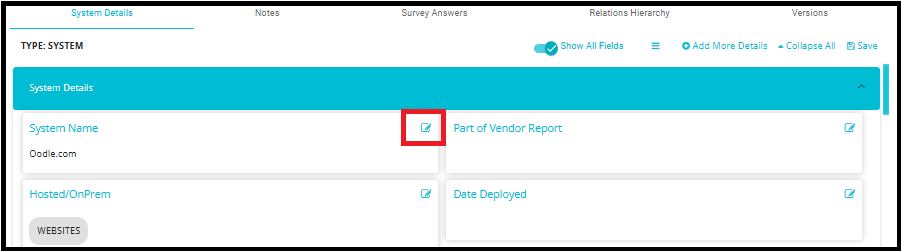
To edit fields on the System Details page, click on the edit button corresponding to that field.
For example, to change the name of the datamap:
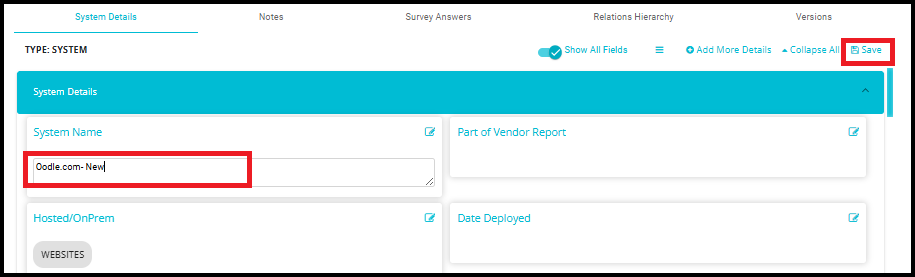
- Click on the Edit button corresponding to the System Name field.
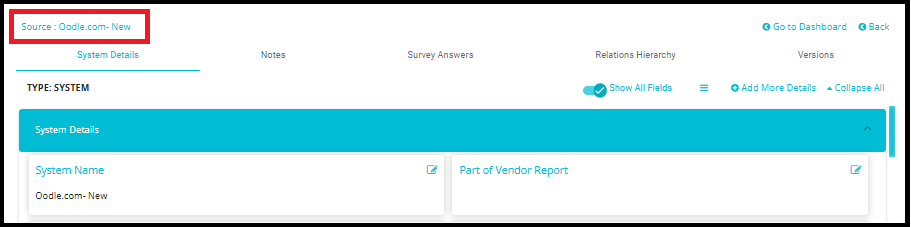
- Type in the new value for the system/subsystem/project/entity and click on the Save button.
- The system/subsystem/project/entity name will now be changed.
Another common change made on the System Details page is the data source Category change.
- To do so, scroll down to find the category field and click on the Edit button.

- Remove the current value and from the drop-down select the required data source category.

- Click on the Save button.
- The data source category will now be changed.
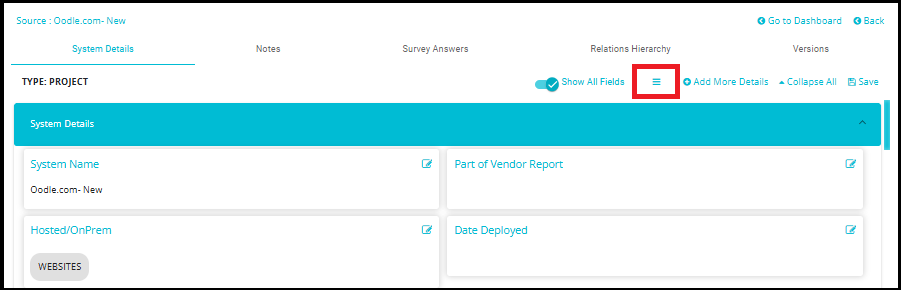
Configuration changes to various groups within the data map---such as System Details, Privacy, Security, etc ---can be made from the Edit page.
For detailed guidance, refer to the Datamap Edit Layout.docdocument.
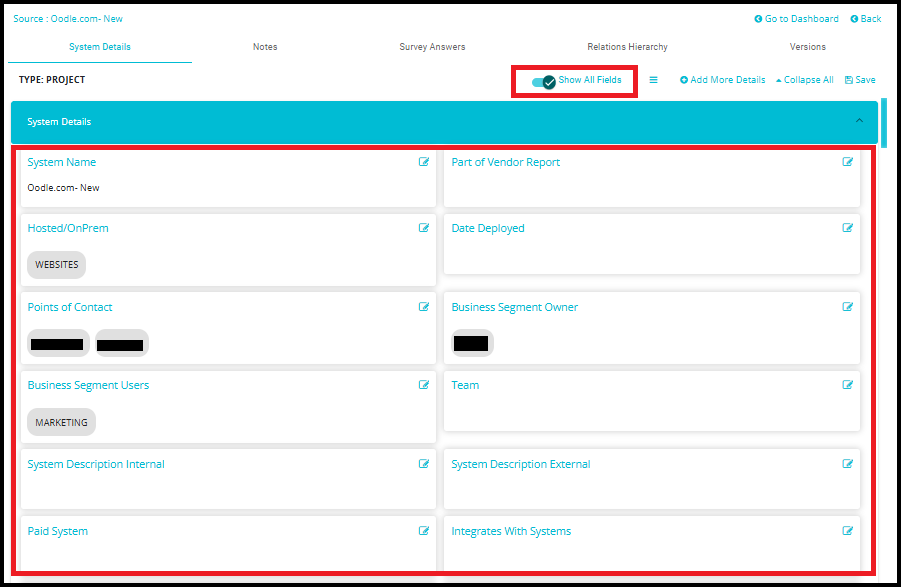
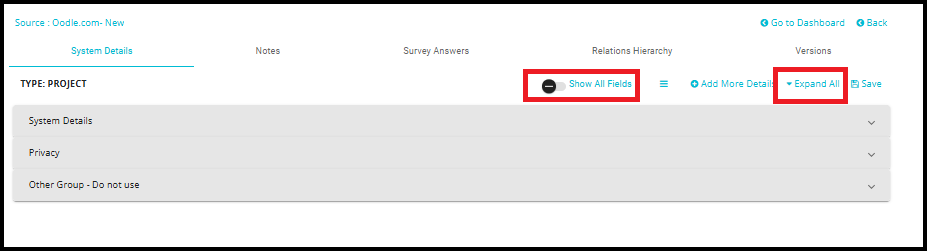
- If the Show All Fields toggle is disabled, only fields that contain values will be displayed.
- Enabling this toggle allows users to view all available fields, including those that are currently empty.
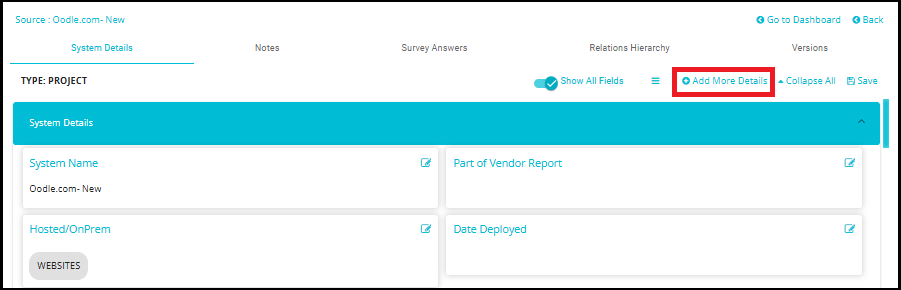
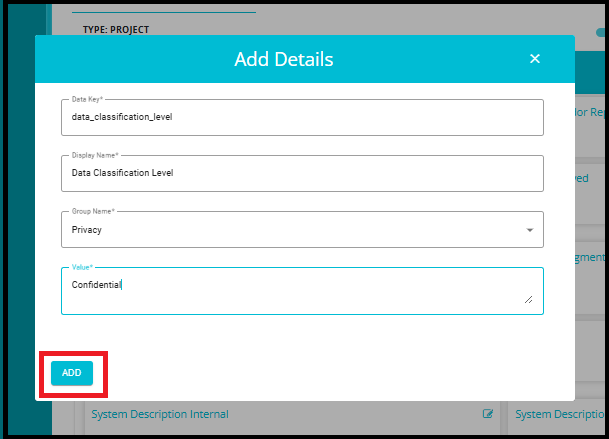
To add a new detail:
1.Click on Add More Details.
2.Fill in the required fields:
Data Key: A unique identifier for the field.
Display Name: The label that will appear in the UI.
Group Name: The category under which the field will be grouped (e.g., Privacy, Security).
Value: The actual data or description to be stored.
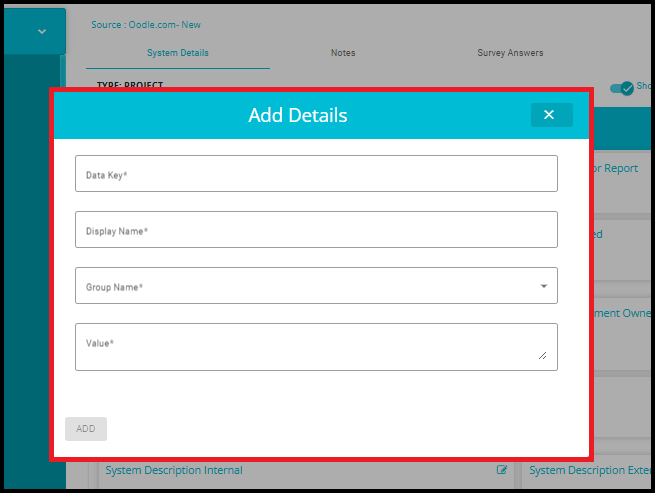
3.Click the ADD button to save the new field.
4.After clicking the ADD button to save a new detail in the System Details tab, a confirmation message appears at the bottom of the page:
"Data element updated successfully!"
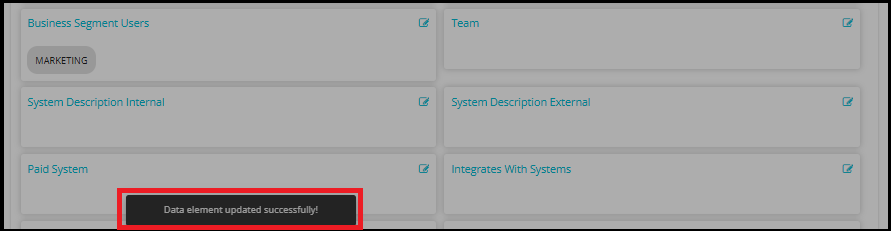
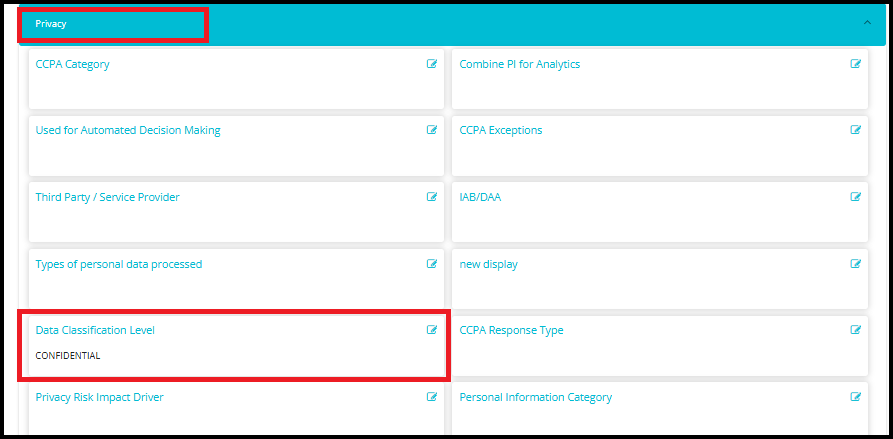
- Once the new detail is successfully added using the Add Details form, it becomes visible under the specified group in the System Details tab.
- Collapse All (with Show All Fields enabled):
When the Show All Fields toggle is enabled, clicking Collapse All displays all category headers, regardless of whether they contain any field values. This helps users quickly locate and navigate to a specific category.
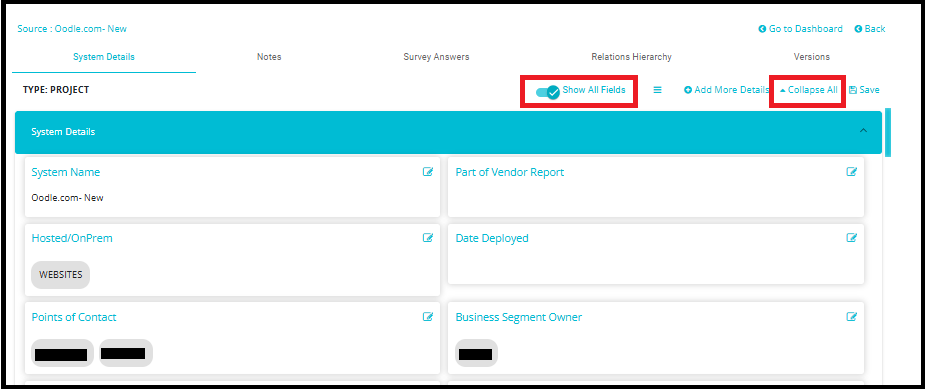
Example: If a user wants to view the DSARs category, collapsing all sections helps them easily identify and click on the DSARs header without scrolling through all field details.
- Expand All (with Show All Fields disabled):
When the Show All Fields toggle is disabled, clicking Expand All will only expand categories that contain field values. Additionally, only the fields that have values will be displayed under those categories.
Example: If only three categories have fields with values, then only those three will expand, and only their filled fields will be visible.